Profu DatoCMS Manual
Table of content
- Profu DatoCMS Manual
Intro
What is DatoCMS?
DatoCMS is a complete, user-friendly content management system that can be used by a wide range of teams including digital marketers, content editors, and developers. It’s easy to customize and extend based on unique business needs.
Why DatoCMS for Content Editors?
Besides being easy to get a hang of you will be able to edit content collaboratively with flexible layouts, without involving any IT-support.
Key Features for Editors
Preview changes in real time, scheduled publishing and full revision history are some of the key features that will provide your team with a smooth workflow.
Login
Read more
-
Logging into DatoCMS
Use your username and password to login on:
https://profu-cms.admin.datocms.com/ -
Navigating the CMS Interface
The first thing you will see when logged in is the dashboard. As the text in the middle of the screen says you can start by editing content in the side menu to the left.
The menu bar at the top of the screen has the “Content” section higlighted, meaning that is where you are currently working. Your profile picture in the top-right corner of the screen can be clicked. That is where you log out.

Working with records
Resources are the dynamic content of the page. They are divided into two categories: Articles and Contacts.
General management
Below you will find a description of the general management of records. These are things that are common to both articles and contacts.
Create a new record
Read more

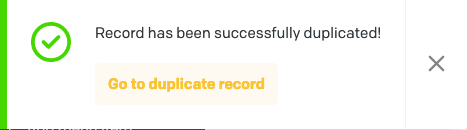
Duplicate a record
Read more

When clicked, a notification will appear in the bottom left corner. You can click “Go to duplicate record” to begin editing the new article right away.
Edit a record
Read more
To change a duplicated article to be valid you can begin by changing the “Internal title” to a unique value and clicking the “refresh” symbol to the right in the “URL Slug” field. The internal title will not be shown on the webpage except for in the URL. Press Save to save any editing made by you.

Delete and unpublish a record
Read more
To delete a record, either click the three vertical dots:
Or, back in the record collection, mark one or several records and click “Delete” in the orange banner appearing at the bottom of the page.

This is also the way of unpublishing on or several records. To unpublish a record while editing click the Unpublish button in the menu to the right. If this menu isn’t visible just click the panel icon to the right of the Save button to reveal it.

More on Articles (News and Research)
Read more
Articles are divided into two categories: News and Research.
Setting meta data
- Area
Areas are used to further categorize Research reports. They are used to set the correct symbol and color for the report. Articles with an area selected will appear as related articles when visiting the page of that specific area. This isn’t a required field but recommended when writing a Research report - Category
Categories are used to group articles. They are also used to filter articles in different components on the page. This field is required. - Tags
Tags are similar to categories but are used to describe the content of the article. They are also used to filter articles in different components on the page. Multiple tags can be selected. - Author
The author field can only contain one value and has to be picked from the list of employees. If there are several author of an article it is recommended to simply write this somewhere within the content of the article.
Employees
Read more
Another type of record is “Employee”. This is where you can add new employees and edit information of existing employees.

To add a new record simply click the button at the bottom of the page.

- Image and Traced Image
Image and traced image are required fields. If there is no need for a traced image, just add the same untraced image again. If so, avoid listing these epmloyees within “Contact promos” as these are created to show traced images. Either upload a new image or pick an already added image from the Media Area.

- Details - phone and email address
At the bottom of the “Location” field add details for phone and email contact.
The expertise field is not required and can contain as many values as need be. If the expertise field you’re looking for doesn’t exist in the list, this can be added as an “Expertise record”. This is shown how to in the next section.

Expertise
Read more
In order to add or edit expertises click its collection in the side menu to the left.

An expertise contains one value, “Title”.
Expertises are shown on the “contact card” of the employee that has selected it as an expertise. Several employees can share the same expertise record.

Working with media
-
Uploading and managing images
Read more
Uploading images can be done in either the media area:

Or while editing a specific record that can contain an image:
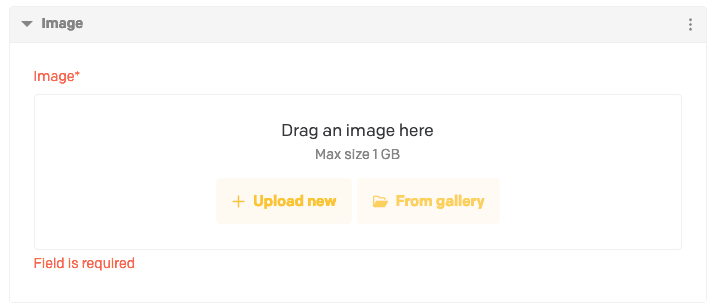
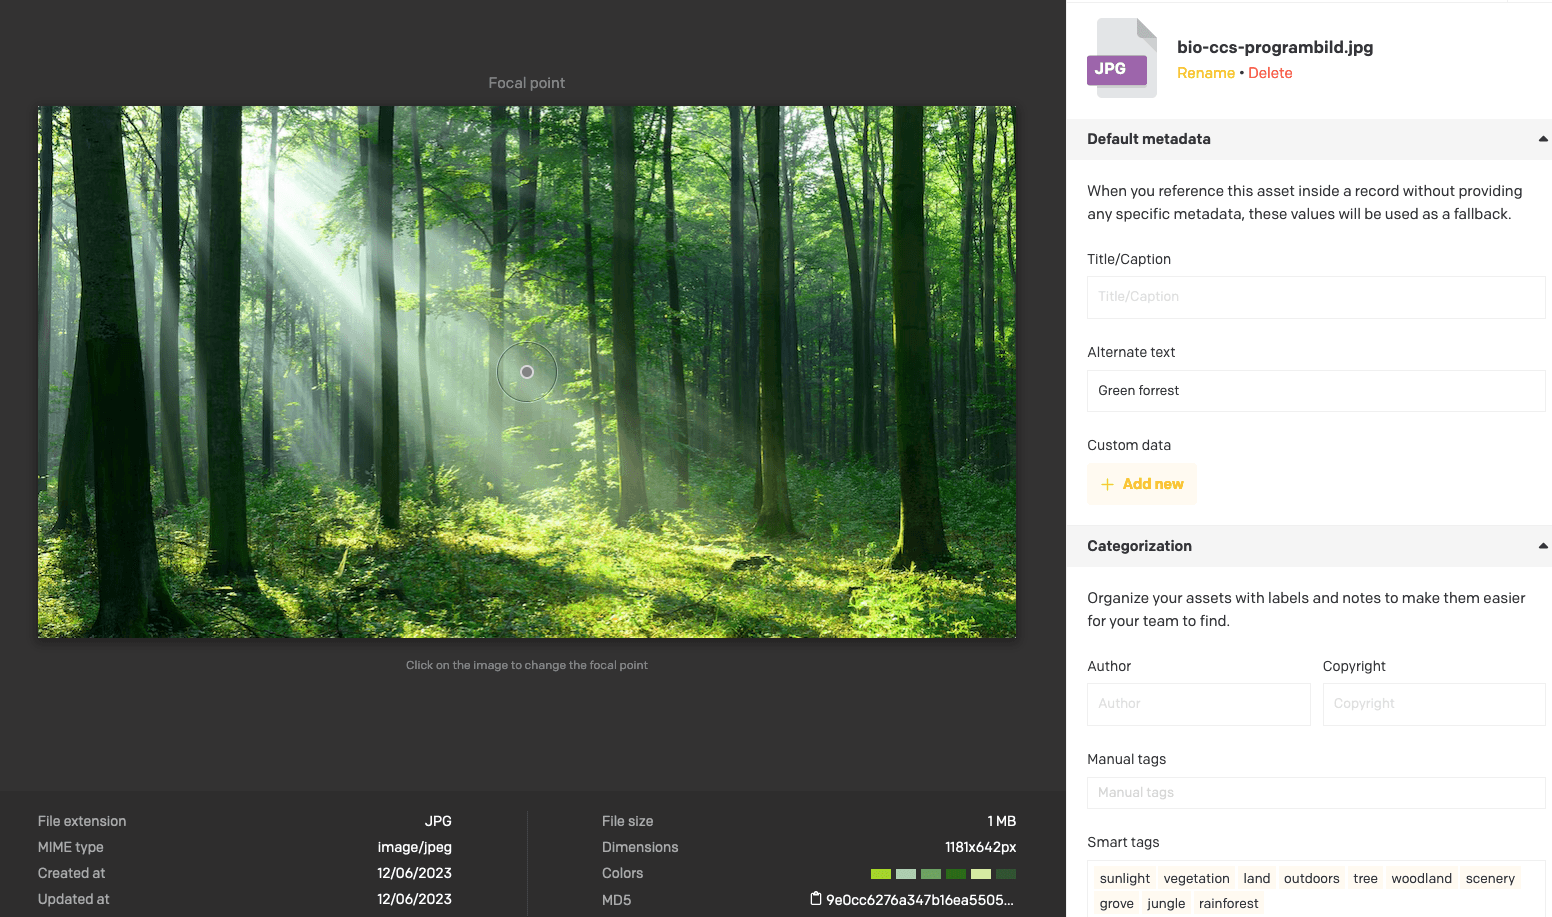
Image configuration
Read more
Images can be configured to specify a different focal point, a custom title, alternate text and tags.
- The focal point will decide what to crop of the width of the image cannot fit the container of the page. For example a smaller thumbnail of an employee will want to have the focal point in the center of the face.
- The title is mainly used for internal sorting while browsing the Media Area. It is required when uploading images.
- Alternate text is also required as it improves your page’s SEO in addition to making it more available to users utilizing screen readers.
- Tags are just there to help you sort among images of the Media Area and are entirely optional.
Add media in content
To add media in content, such as an article, first create a module that can contain an image or video. And either add existing from Media Area or Upload a new asset. Modules that can contain media are:
Image, Image Grid, Text/Image Row and Video
Working with general content
To edit General content visit the “Settings” section in the left side menu.

Edit menu
Read more
The “header menu” or “top navigation menu” can be customized to show links to pages from the website. It is very rarely needed to edit these as it greatly affects how the user interacts with the website. Each entry takes a title, which will be visible in the menu, and a link, preferably an internal link pointing to one of the pages of the website.

Edit footer
Read more
The footer menu works the same way as the header menu but generally shows more specific links or shortcuts to different paths of the website.

Newsletter form
The newsletter form consists of several text fields that you can determine the content of under the section “Form texts”.
Working with page content
Rich text content (Dato “Structured Text”)
Read more
- Text can be formatted in most text fields by highlighting the text you want to format and pick the format of choice. Example of formatting is cursive, bold, underline and link.

- Adding links
To add links, choose the word or sentence you want to be “clickable” by highlighting it and choosing the link symbol. You will be asked to provide the URL of the link and choose if it should open in a new window. It’s also possible to simply copy + paste a URL in the text and the text editor will recognize it as a link.

Flexible content (“sections” with “modules”)
Read more
Flexible content is a way of creating content in different places on the website. It is divided into sections and modules. A section is a container for one or several modules. A module is a container for content such as text, images, videos and more. The easiest way to create a new section is to duplicate an existing one and edit the modules within it.
An example workflow for adding a new module to a section:
- Go to “Pages”

- Open any page by clicking on it in the list
- Scroll down to “Sections”

- Expand the section you want to add a module to
- Click “Create new”
- Select the type of module you want to add

Publishing and unpublishing
Read more
Publishing
When you’re done editing a record and have saved your changes you will be given to option to publish:

Unpublishing
Go to: Delete and unpublish a record
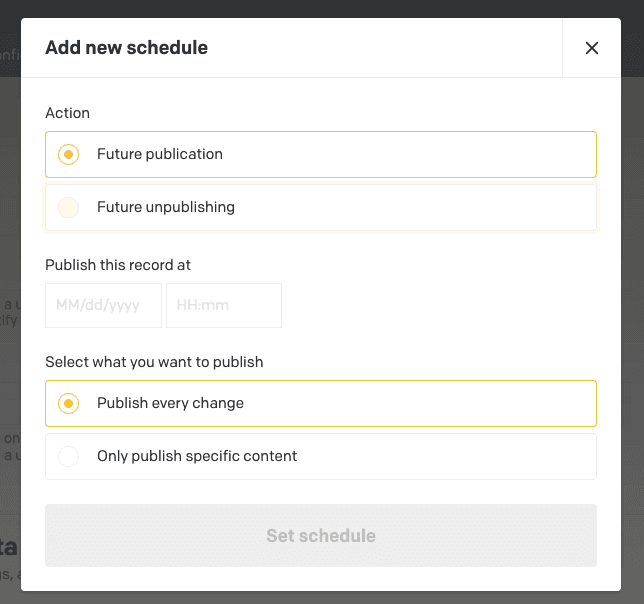
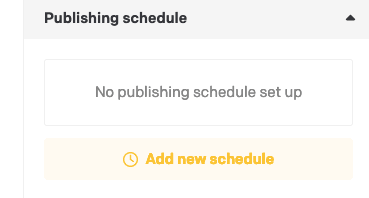
Scheduled publishing and unpublishing
To publish a record such as an article by a schedule click the “Add new schedule” button.
Choose the action of your choice, “Future publication” or “Future unpublishing”. Choose which date and time and what content to publish or unpublish.